Advanced Usage Scenarios of Android SDK
1 Set the game area to half-screen
The host SDK provides an interface getGameView() to obtain the game view, and the size and position of the game area can be changed by limiting the size of the external container of the game view. For example, a layout example containing a game container is as follows, where the non-game part occupies the top 200 dp height area:
<?xml version="1.0" encoding="utf-8"?>
<LinearLayout xmlns:android="http://schemas.android.com/apk/res/android"
    android:layout_width="match_parent"
    android:layout_height="match_parent"
    android:orientation="vertical">

    <LinearLayout
        android:id="@+id/nonGamingArea"
        android:layout_width="match_parent"
        android:layout_height="200dp"
        android:background="@color/text_light_grey">
    </LinearLayout>

    <FrameLayout
        android:id="@+id/gameContainer"
        android:layout_width="match_parent"
        android:layout_height="match_parent" />
</LinearLayout>
When calling TJHostHandle.initialize(), you can pass in gameContainer to limit the loading page area, for example:
TJHostHandle.initialize(context, p.getProperty("app.key"), p.getProperty("app.secret"), gameContainer, new OnTJHostHandleInitializeListener() {
    // ...
});
After hostHandle.start() succeeds, you can obtain the game View via getGameView() and add it to gameContainer to limit the game area:
hostHandle.start("[Demo App]", new OnTJHostHandleListener() {
    @Override
    public void onSuccess() {
        gameContainer.addView(hostHandle.getGameView());
        hostHandle.getGameView().requestFocus();

        playGame();
    }

    @Override
    public void onFailure(Throwable throwable) {
        // ...
    }
});
The schematic diagram of the effect is as follows:
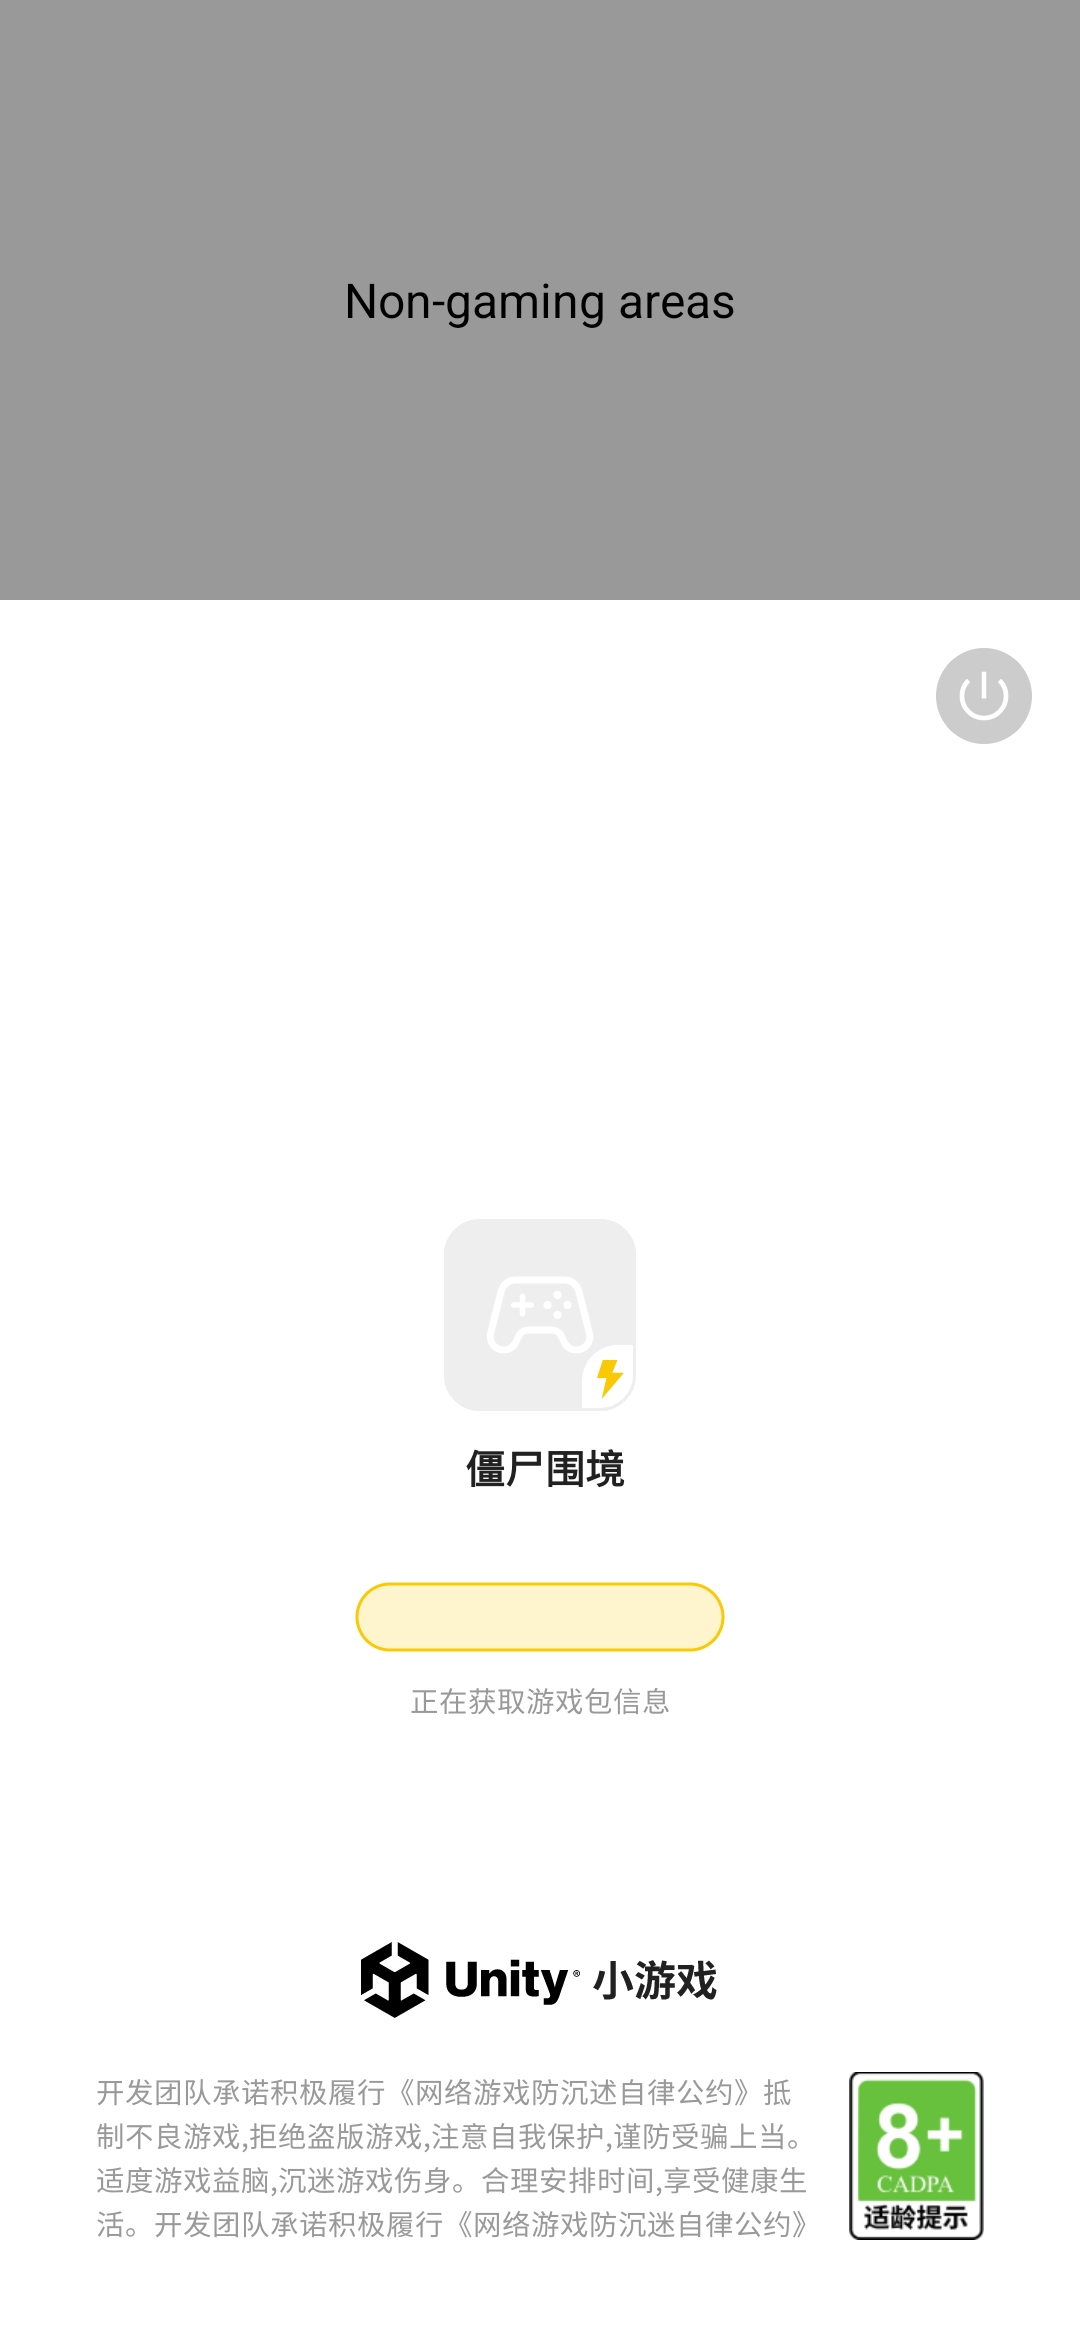 | 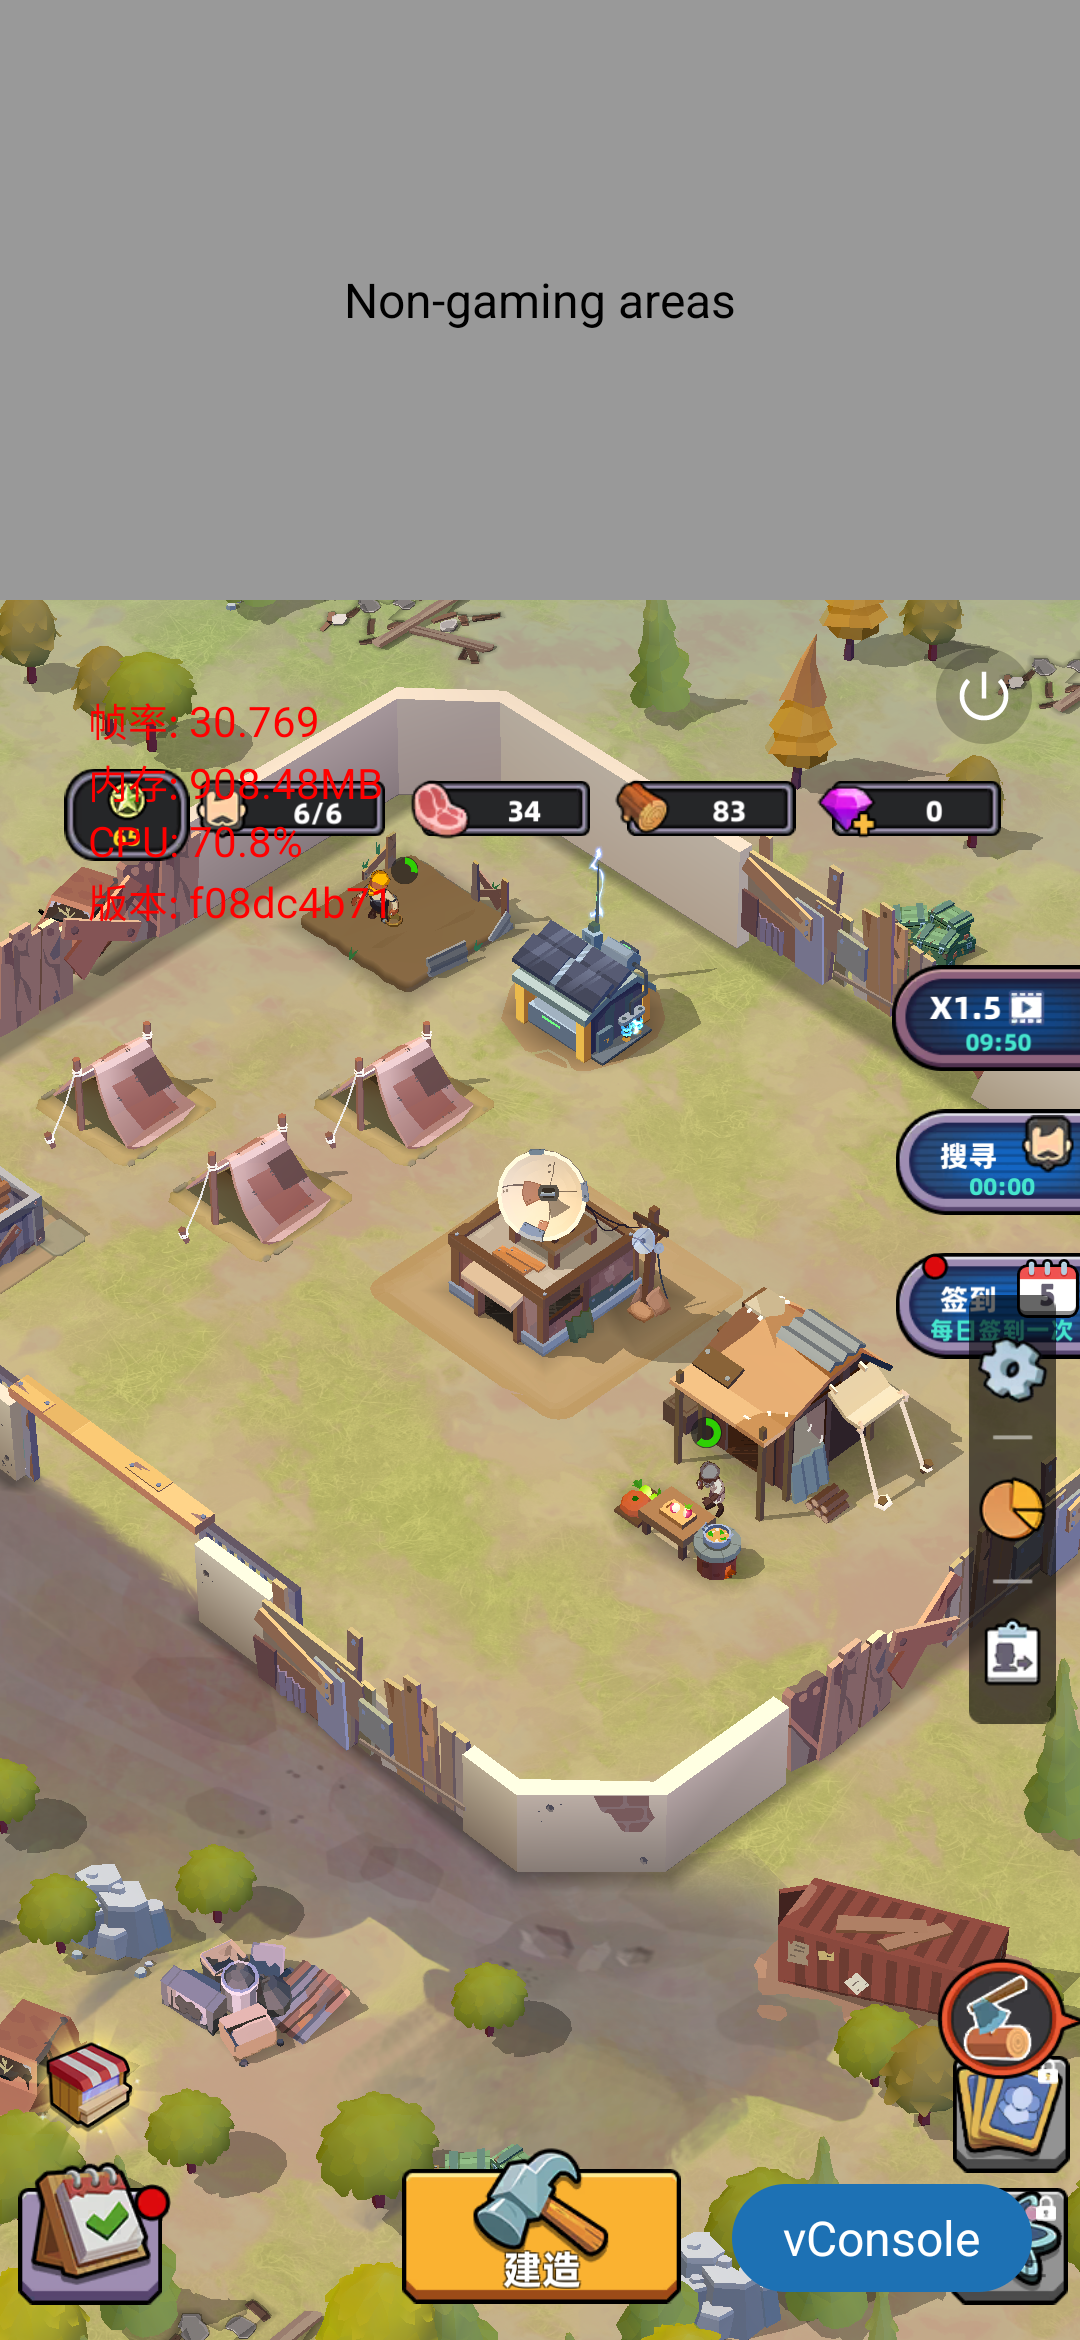 |
|---|---|
| Half-screen loading page | Half-Screen Game |
2 Supports transparent game background
You can set the parameter ENABLE_TRANSPARENT_MODE to true when calling setGameStartOption(), which enables the GameView background to support transparency:
bundle.putBoolean(TJConstants.ENABLE_TRANSPARENT_MODE, true);
At this time, add a TextView in gameContainer to serve as the background:
<FrameLayout
    android:id="@+id/gameContainer"
    android:layout_width="match_parent"
    android:layout_height="match_parent">
    <TextView
        android:layout_margin="40dp"
        android:layout_width="match_parent"
        android:layout_height="match_parent"
        android:layout_gravity="center"
        android:gravity="center"
        android:background="@color/text_light_grey"
        android:text="@string/gaming_area_background"
        android:textSize="16sp"
        android:textColor="@color/black">
    </TextView>
</FrameLayout>
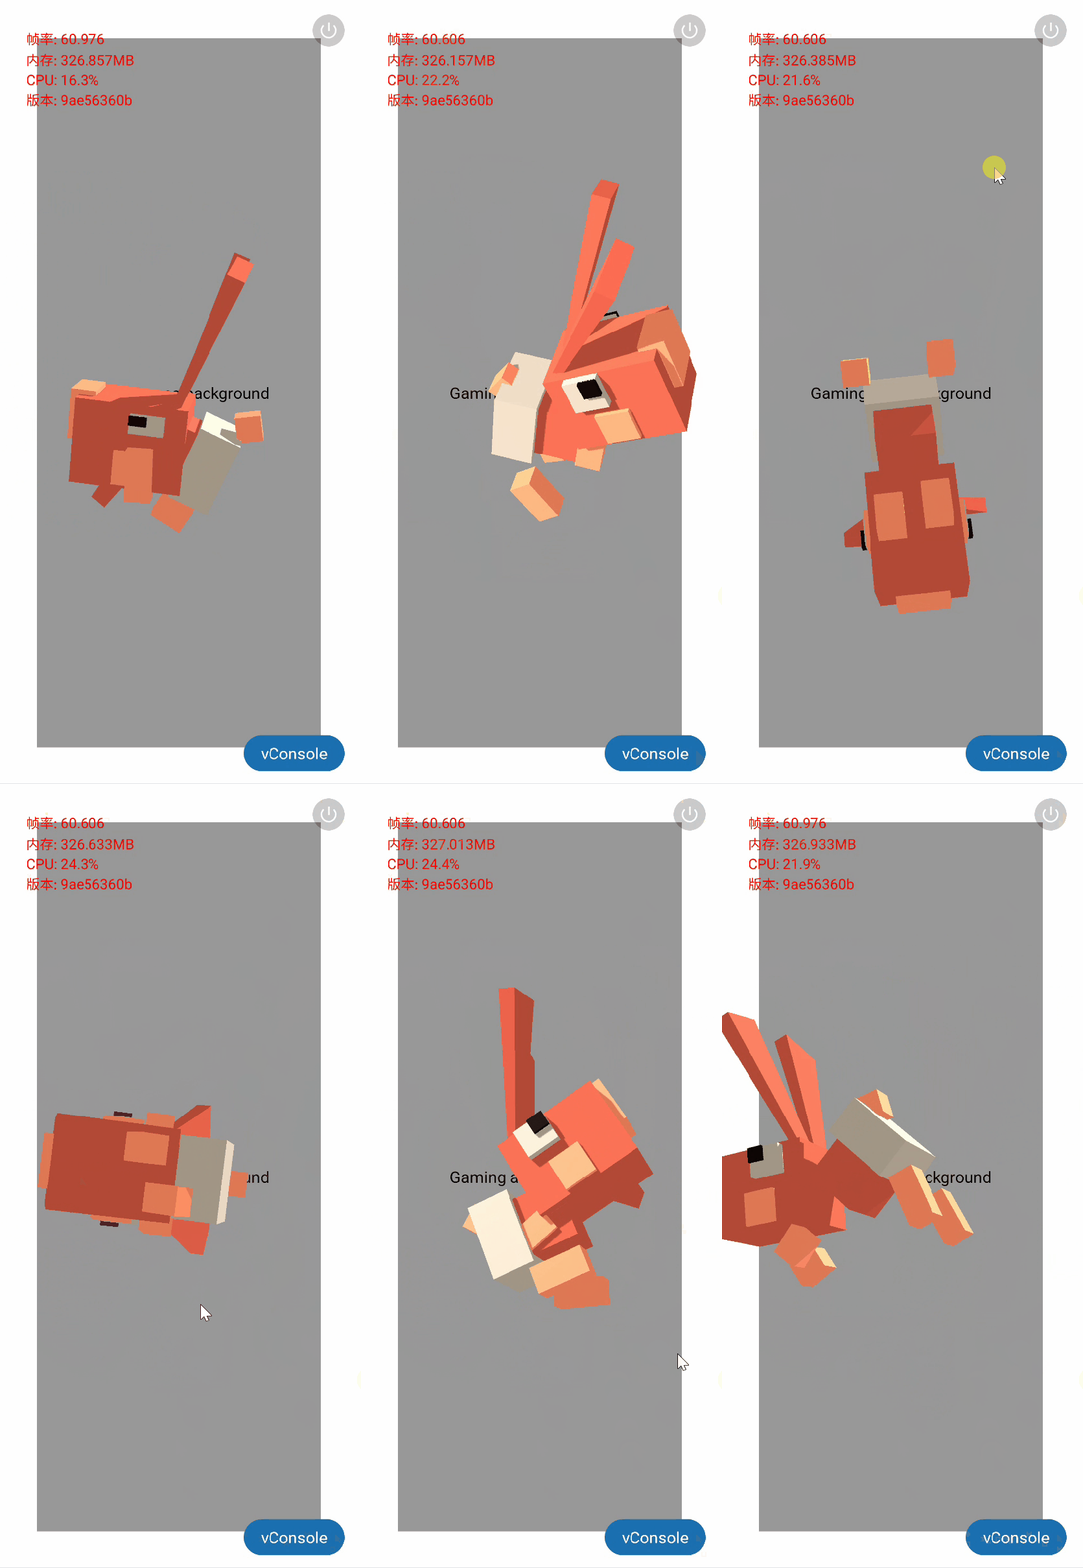
Running a game with a transparent background, such as the transparent background test game in the Demo, the actual effect is as follows
3 Custom Capsule Button
Custom capsule buttons can be implemented by not displaying the default capsule button and implementing a custom button. When setting setGameStartOption(), setting the parameter SHOW_MENU_LAYOUT to false can hide the default capsule button.
bundle.putBoolean(TJConstants.SHOW_MENU_LAYOUT, false);
Subsequently, add a custom Button within gameContainer and implement the click logic:
<FrameLayout
    android:id="@+id/gameContainer"
    android:layout_width="match_parent"
    android:layout_height="match_parent">
    <Button
        android:layout_width="wrap_content"
        android:layout_height="wrap_content"
        android:text="@string/diy_button"
        android:layout_gravity="end|top"
        android:layout_marginTop="20dp"
        android:layout_marginEnd="20dp">
    </Button>
</FrameLayout>
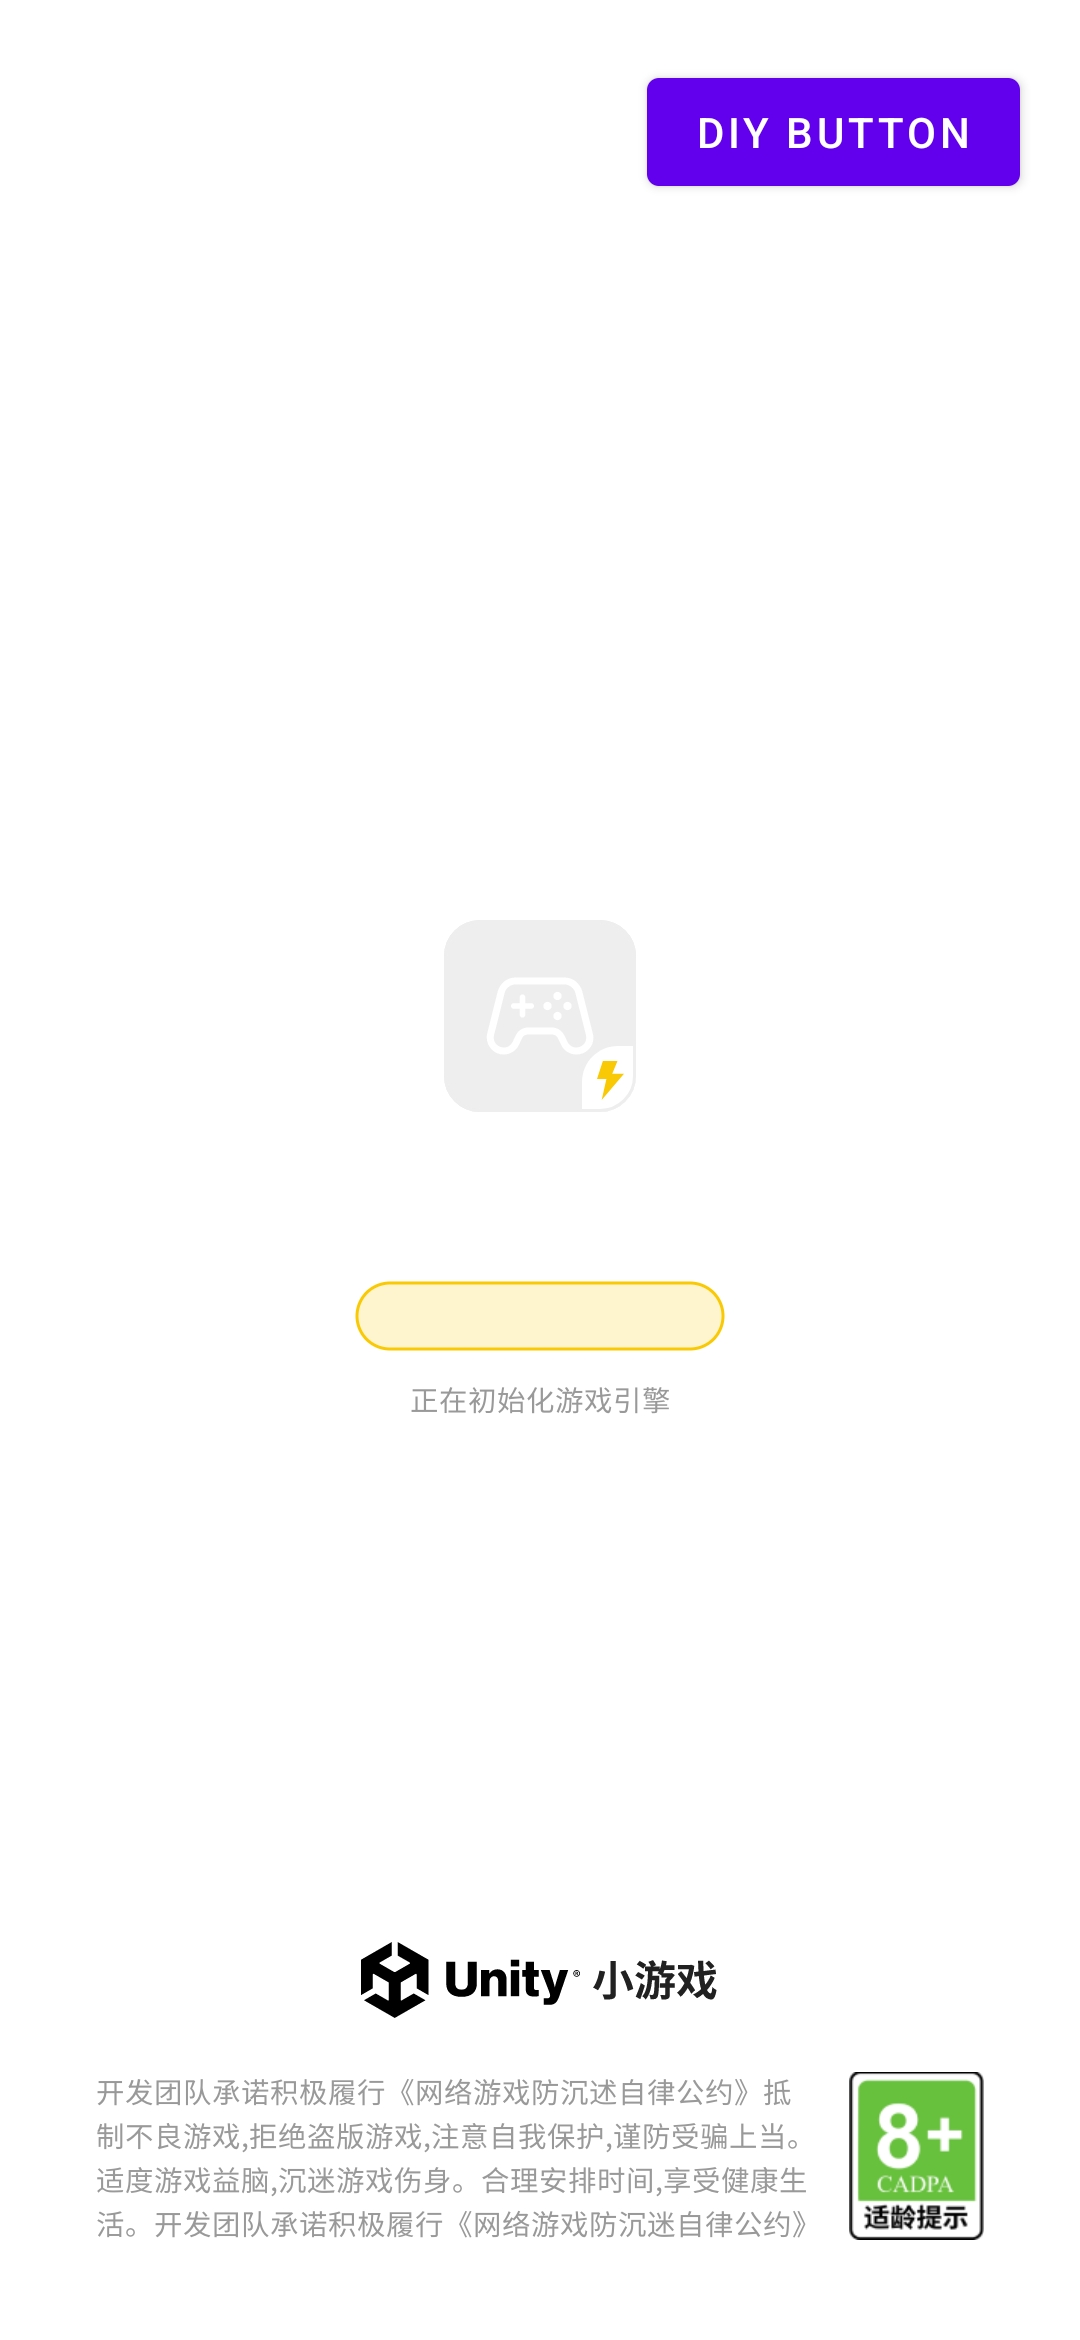
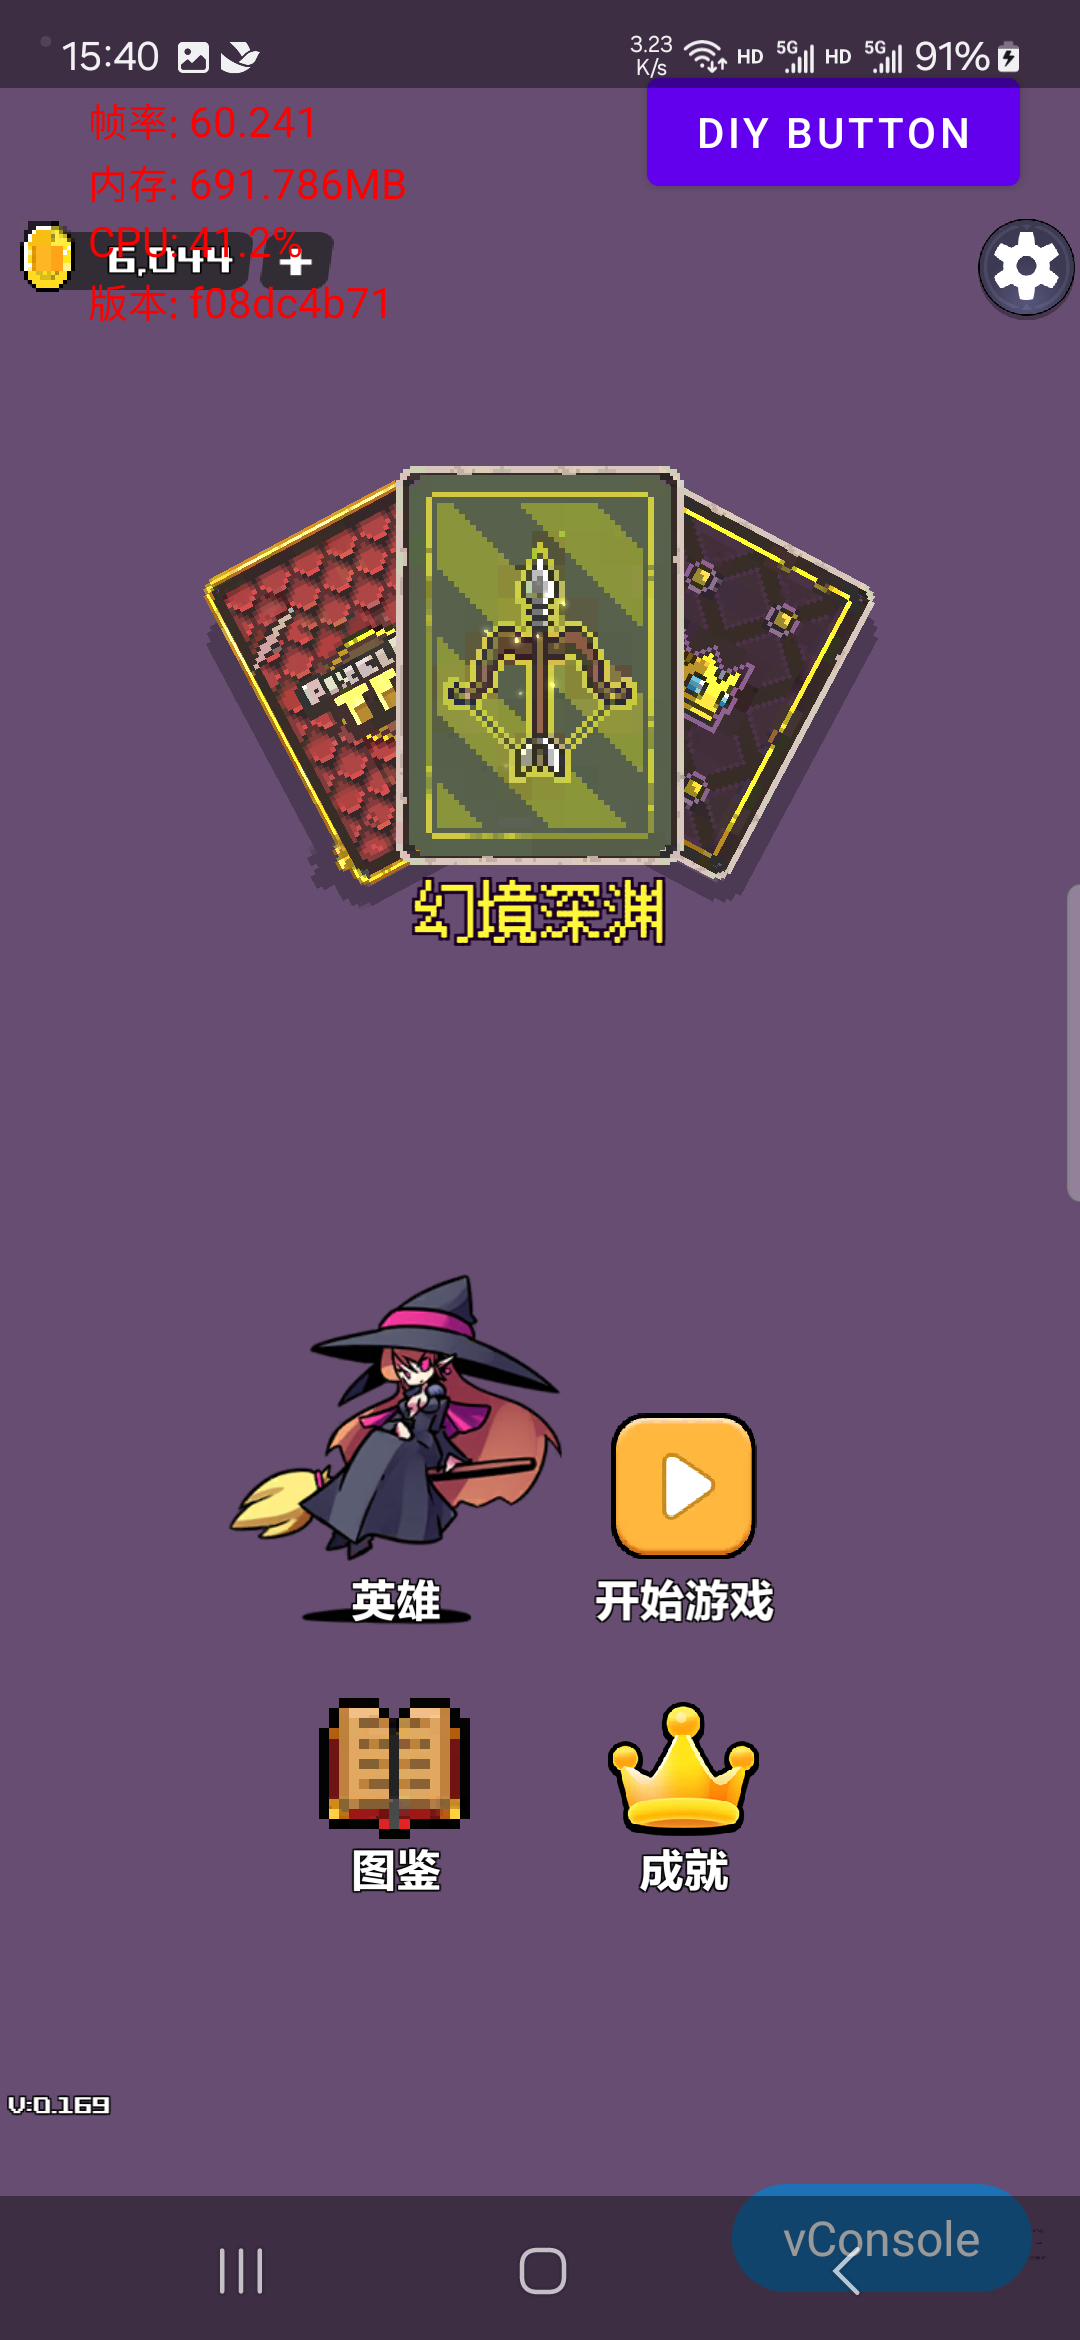
The actual effect is as follows:
 |  |
|---|---|
| Custom Capsule Button Loading Page | Custom Capsule Button Game Interface |
The above method is applicable to adding any custom View to the loading page and game interface. If you only want to add a custom View floating above the game within the game interface, you can refer to Add Subview to Platform UI Layer
4 Java and JS Mutual Invocation
Refer to CustomCommand Interface
5 Recently Played List
The Host SDK provides interfaces related to recent play, which are used to query the current user's play list or inject a custom HistorySaver to handle and store the launched game history information HistoryModel externally.
5.1 Directly obtain the user's game history list via API
If you need to obtain a user's recent play list, you can call the following API. Here, the userId is the same as the USER_ID passed in when starting the game:
public static List<HistoryModel> getUserHistory(Context context, String userId)

// e.g. List<HistoryModel> historyList = TJHostHandle.getUserHistory(context, "user_id");
Field descriptions for HistoryModel are as follows
| Field | Data Type | Description |
|---|---|---|
id | String | Game ID |
userId | String | User ID |
versionId | String | Game Version ID |
name | String | Game Name |
gameType | String | Game Type |
iconUrl | String | Game Icon URL |
tags | [String] | Game Tags |
briefIntro | String | Game Introduction |
launchKey | String | Game Launch Parameters |
dev | Bool | Is it a test suite launched by scanning a code? |
lastLaunchTime | Int64 | Last Game Launch Time |
5.1.1 dev Field Description
The MiniHost Console provides the function of QR code scanning experience in game package management. Games with QR code scanning experience are for temporary trial play as development versions, so the download address of the game package is a temporary address.
Since the game will be recorded in the recently played list after it is launched, and the download address of the development package is temporary, when launching the development package for QR code scanning experience from the recently played list, the game will only launch the locally cached game package and will not re-download it.
When the game version is updated, a new QR code needs to be scanned to download the game package, and at this time the game list will be updated launchKey replaces the original version as the next startup parameter.
5.2 Inject HistorySaver to handle play history
You can also handle and store game startup history information by injecting a custom HistorySaver, which can be injected via the following API. Note that the injection operation should be performed after createGameHandle succeeds and before setGameStartOption:
public void setHistorySaver(HistorySaver saver)

public interface HistorySaver {
    void save(HistoryModel history);
}
For example, you can refer to the Demo source code to implement a DemoHistorySaver, upload HistoryModel to the backend for saving to implement the cross-device storage function:
public class DemoHistorySaver implements HistorySaver {
    // ...
    @Override
    public void save(HistoryModel historyModel) {
        // You can upload the history info to your server here, we just simply save it to SharedPreference for example
        try {
            historyService.requestSaveHistory(gson.toJson(historyModel));
        } catch (RemoteException e) {
            Log.e(TAG, "requestSaveHistory failed: " + e.getMessage());
        }
    }

    // ...
}

// 在 createGameHandle 后注入 HistorySaver
 private void injectHistorySaver() {
    historySaver = new DemoHistorySaver(this);
    hostHandle.setHistorySaver(historySaver);
}
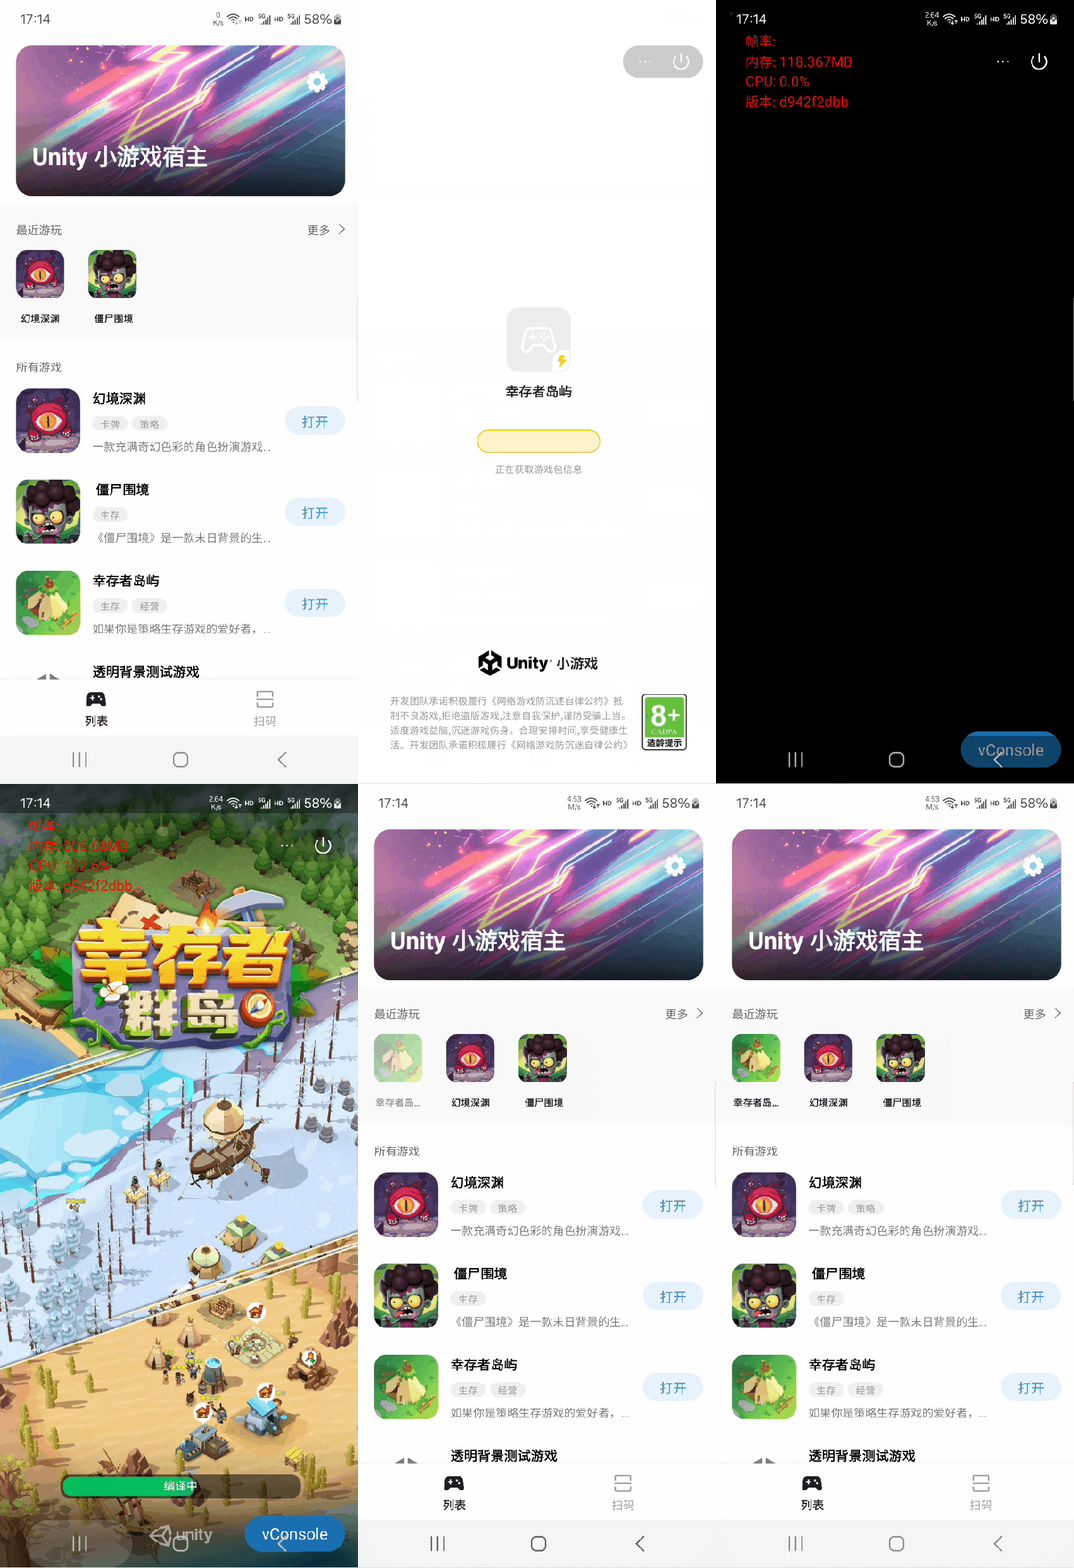
The effects of obtaining and displaying historical records in the Demo are as follows: