Advanced Usage Scenarios of iOS SDK
1 Custom Game Area
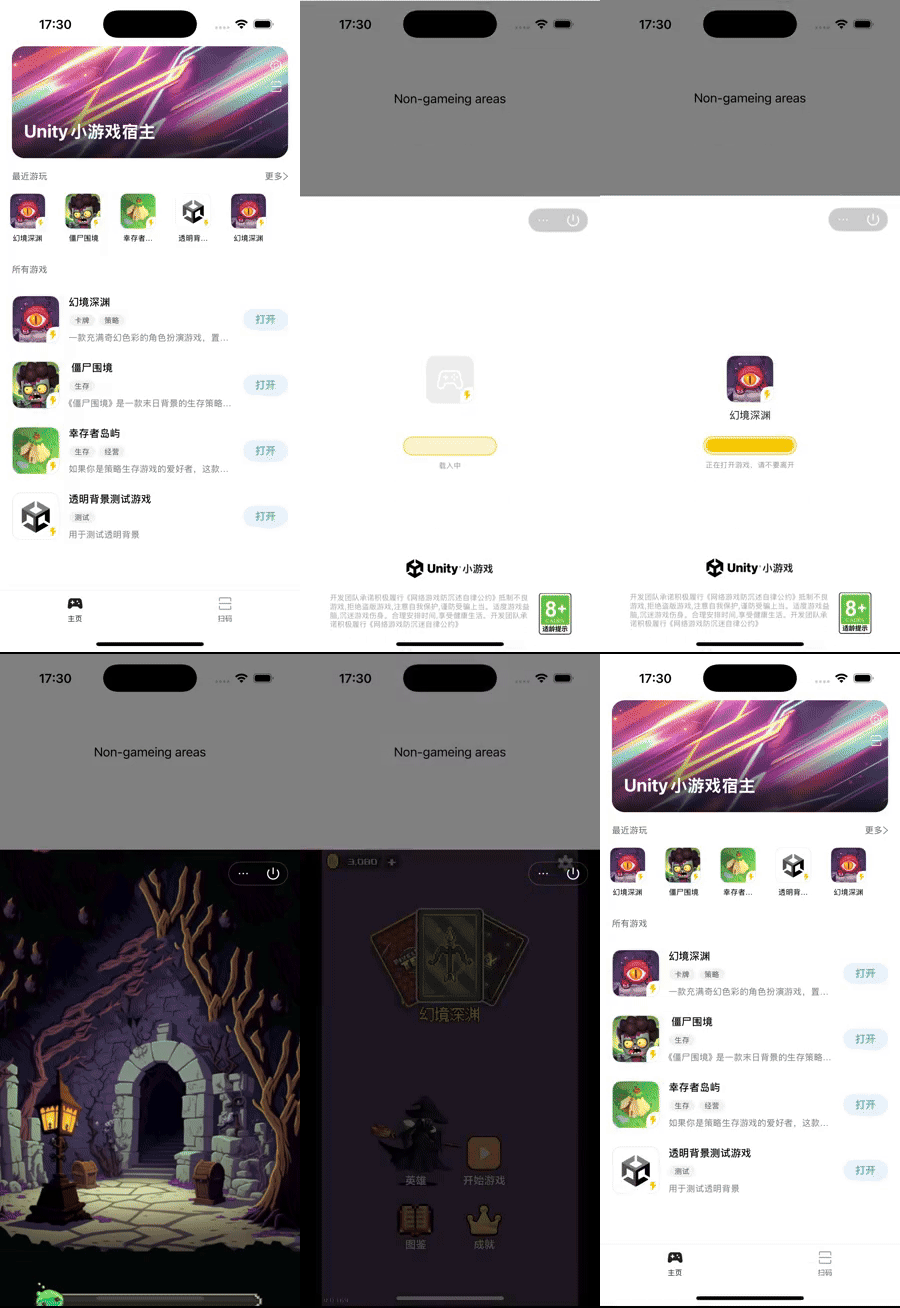
When creating the host createGameHandle, you need to pass in UIViewController as the container for the game view. You can change the size and position of the game area by limiting the size of the external container of the game view.
func initHostView() {
    let demoView = UIViewController()
    let gameView = UIViewController()

    self.view.addSubview(demoView.view)
    self.view.addSubview(gameView.view)

    demoView.view.snp.makeConstraints { make in
      make.height.equalToSuperview().multipliedBy(0.3)
      make.width.equalToSuperview()
      make.top.equalToSuperview()
    }

    gameView.view.snp.makeConstraints { make in
      make.height.equalToSuperview().multipliedBy(0.7)
      make.width.equalToSuperview()
      make.top.equalTo(demoView.view.snp.bottom)
    }

    self.gameView = gameView
    self.demoView = demoView
}

MultiGameLauncher.createGameHandle(hostHandle, gameId, gameView) { gameHandle, err in
    guard let gameHandle else {
        return
    }

    self.gameHandle = gameHandle
    self.setGameStartOptions()
}
The schematic diagram of the effect is as follows:
2 Supports transparent game background
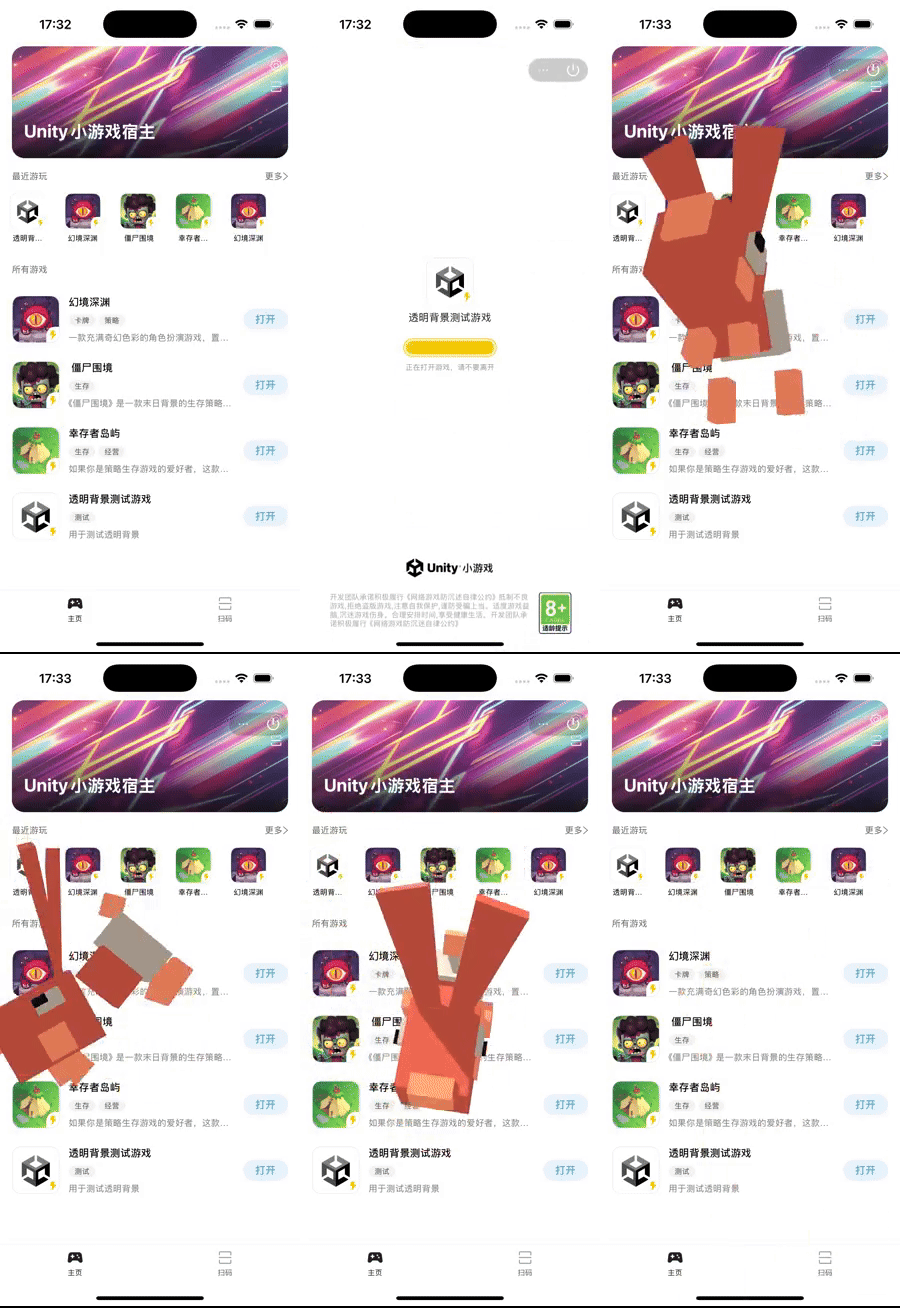
You can set the parameter ENABLE_TRANSPARENT_MODE to true when calling setGameStartOption(), which enables the GameView background to support transparency:
options[TJConstants.ENABLE_TRANSPARENT_MODE] = true
// performance+ mode temporarily does not support transparent background

gameHandle.setGameStartOptions(options: options) { error in
    guard error == nil else {
        return
    }

    self.startGame()
}
The schematic diagram of the effect is as follows:
3 Custom Capsule Button
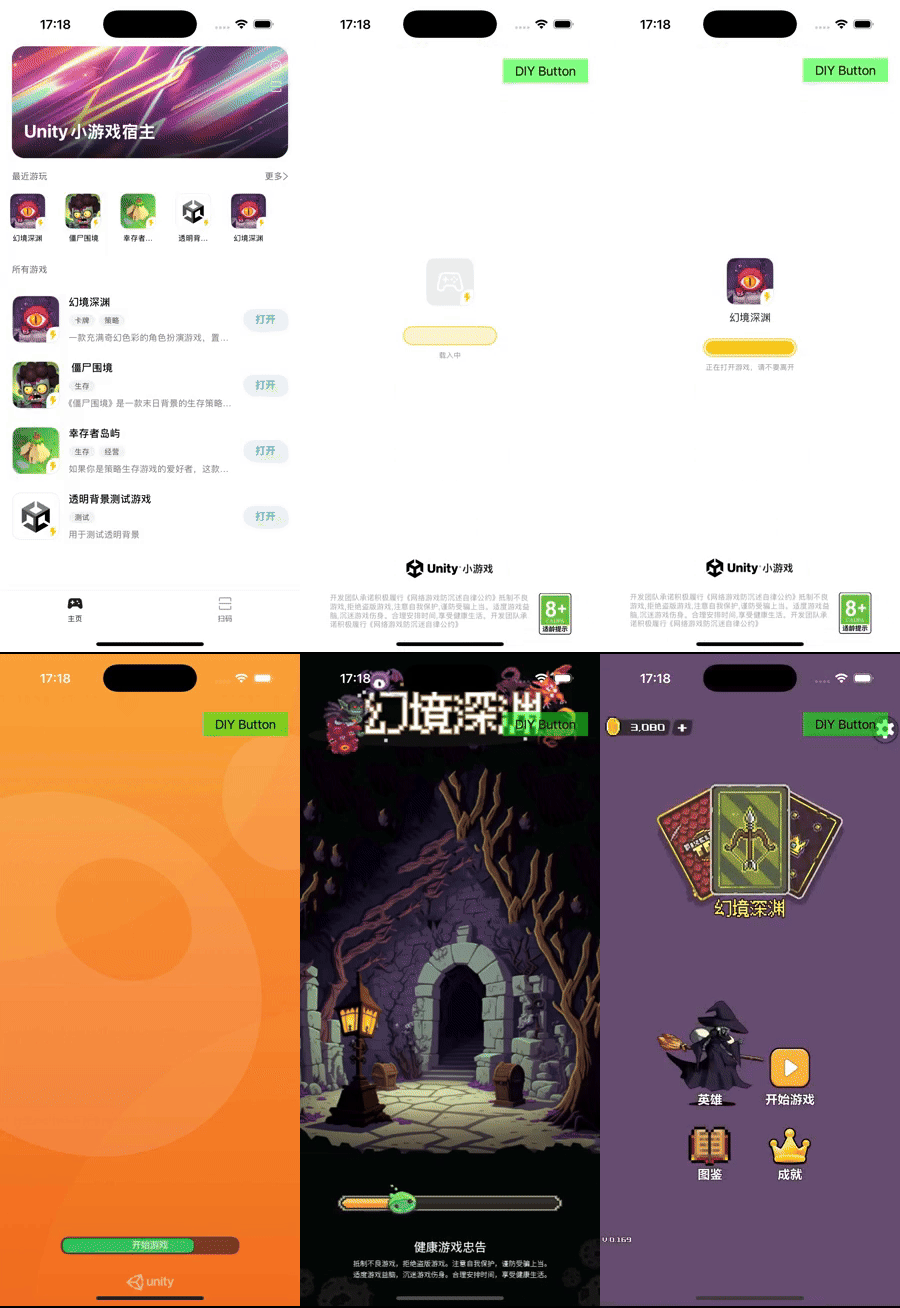
Custom capsule buttons can be implemented by not displaying the default capsule button and implementing a custom button.
When setGameStartOption() is called, setting the parameter SHOW_MENU_LAYOUT to false can hide the default capsule button. After initializing the host, custom buttons can be added to the page.
MultiGameLauncher.createGameHandle(hostHandle, gameId, self) { gameHandle, err in
    guard let gameHandle else {
        return
    }

    // DIY Capsule button
    let layout = UIView()

    self.view.addSubview(layout)

    self.gameHandle = gameHandle
    self.setGameStartOptions()
}
The schematic diagram of the effect is as follows:
The above method is applicable to adding any custom View. If you only want to add a custom View floating above the game within the game interface, you can refer to Add Subview to Platform UI Layer
4 Native Code and JS Mutual Invocation
Refer to CustomCommand Interface
5 Recently Played List
The Host SDK provides interfaces related to recent play, which are used to monitor game launches and query the current user's play list.
public protocol RecentlyGameDelegate
{
  func updateGame(game: PlayedGameModel)
}

/// obtain recently played games list
public func getAllRecentlyPlayedGames(userId: String) -> [PlayedGameModel]

/// set game list update listener
public func setRecentlyPlayedGameDelegate(delegate: RecentlyGameDelegate)
Set the listener implementation when initializing the host, and the currently ongoing game will be returned when the listener is triggered.
class RecentlyGameListener: RecentlyGameDelegate {
  func updateGame(game: PlayedGameModel) {
    // return the latest played game when updated
  }
}

TJHostHandle.initialize(sdkKey: SDK_KEY, sdkSecret: SDK_SECRET) { hostHandle, _ in
  guard let hostHandle else {
    return
  }

  hostHandle.initLog(.debug, self)

/// set recently played game list update listener
  hostHandle.setRecentlyPlayedGameDelegate(delegate: recentlyGameDelegate)

  self.hostHandle = hostHandle
}
Get a list of all games the user has played. Can be used to display the user's recent play history.
let playedGames = hostHandle.getAllRecentlyPlayedGames(userId: UserId)
5.1 PlayedGameModel
| Field | Data Type | Description |
|---|---|---|
id | String | Game ID |
userId | String | User ID |
bundleId | String | Game Package ID |
versionId | String | Game Version ID |
name | String | Game Name |
gameType | String | Game Type |
iconUrl | String | Game Icon URL |
tags | [String] | Game Tags |
briefIntro | String | Game Introduction |
launchKey | String | Game Launch Options |
dev | Bool | Game Development Kit |
lastLaunchTime | Int64 | Last Game Launch Time |
5.2 Explanation of the dev Field in the Game Development Kit
The MiniHost Console provides the function of QR code scanning experience in game package management. Games with QR code scanning experience are for temporary trial play as development versions, so the download address of the game package is a temporary address.
Since the game will be recorded in the recently played list after it is launched, and the download address of the development package is temporary, when launching the development package for QR code scanning experience from the recently played list, the game will only launch the locally cached game package and will not re-download it.
When the game version is updated, a new QR code needs to be scanned to download the game package, and at this time the game list will be updated launchKey replaces the original version as the next startup parameter.